d3VIEW being a data-to-decision platform, houses many applications. Database is one among them where we can organize large amounts of data including scientific data such as curves/images/movies/etc.
Main features of the Database application include
- Creating a database & organizing large volume of imported data
- Visualizing data
- Exporting data
1. Create Databases With and Without Importing Data
Databases can be created in 4 different ways.
- Database with manually added fields
- Database with fields imported by uploading a file
- Database with fields imported from sample datasets
- Database creation using Workflows
Let’s look at the different ways:
1.1 Creating a Database with manually added fields
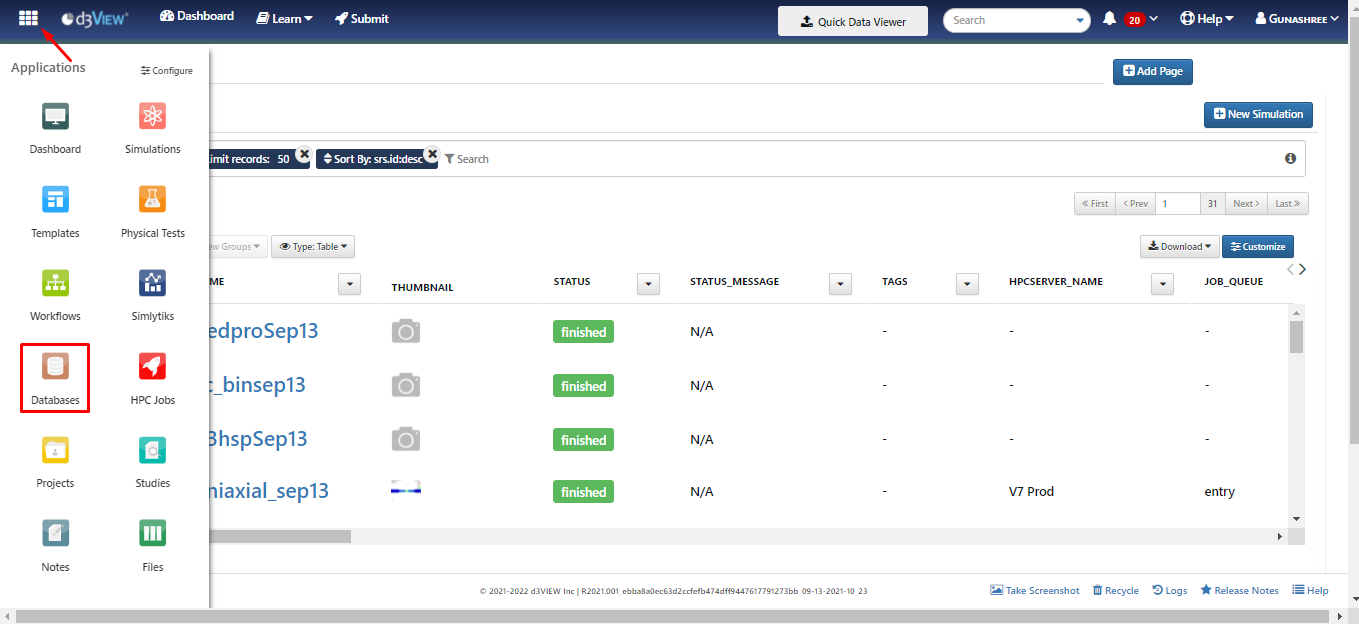
Opening the d3VIEW platform lands us in the Dashboard page. Now, go to the Applications menu available on the left top corner and open Databases application.
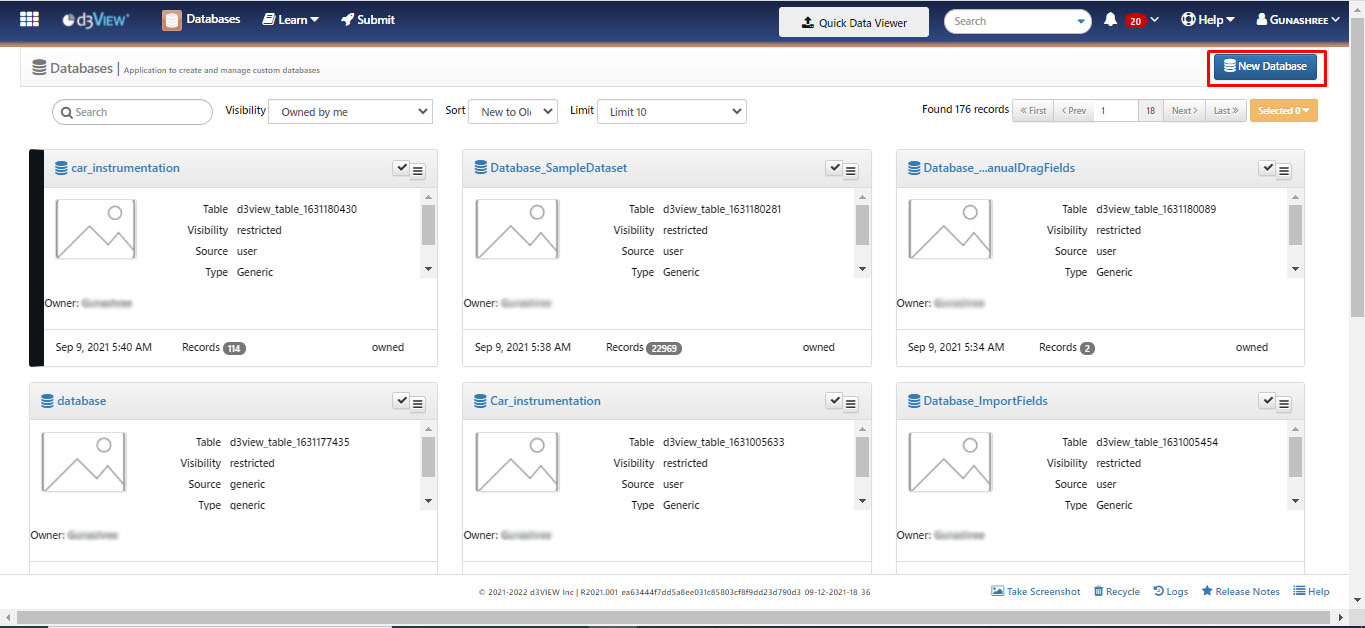
In the Database homepage, click on New Database to start creating a database, which opens up Create a new Database modal.
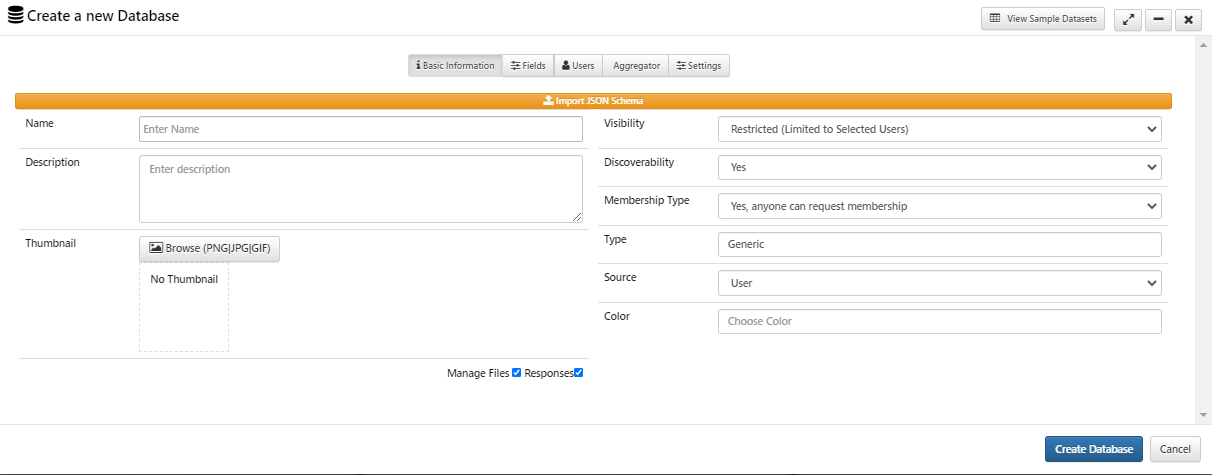
Taking advantage of all the sections like Basic Information, Fields, Users, Aggregators and Settings, we can create a database. First we will fill all the Basic information like database name, visibility, discoverability, thumbnails etc.
Then we will go to Fields section where we have various options for adding fields. In this case we are adding fields by dragging and dropping from the inputs list available at the right hand side as per the requirement.
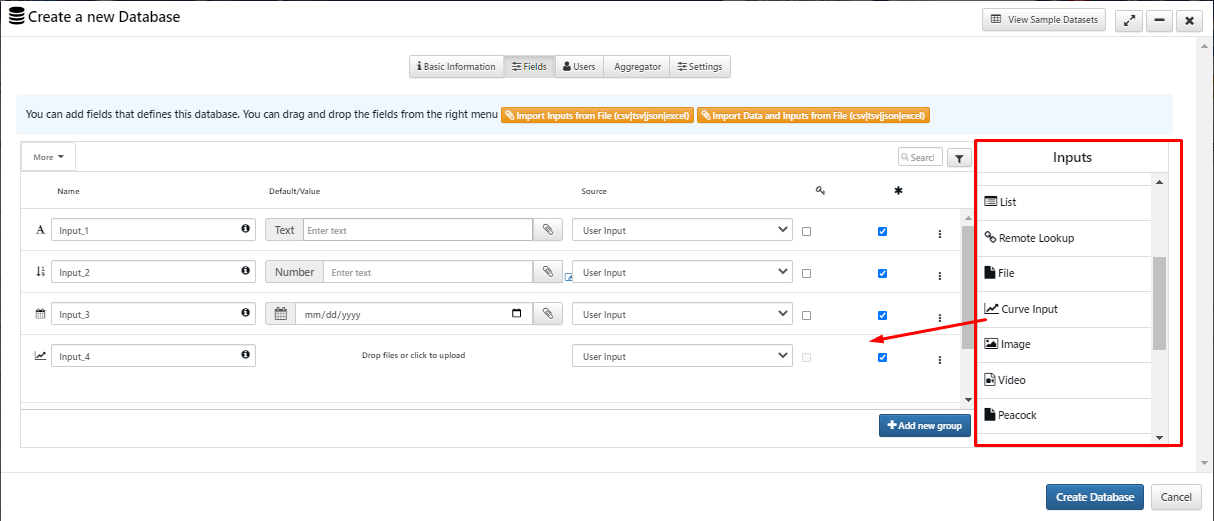
We can edit input fields’ names which reflects as database column’s names after creating it. We can also fill the inputs for the fields right here which doesn’t require to be edited/ common for all the records in the database.
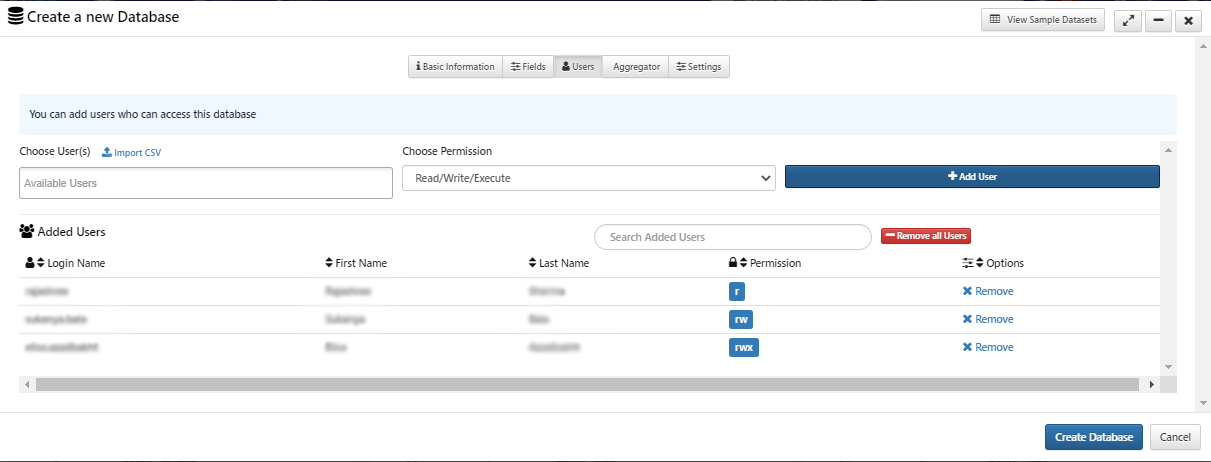
Next, in Users section we can add users to the database by searching/ selecting from the dropdown, which restricts the access to the database with the selected users. We can also select/assign permissions for each user while adding them.
After adding users, go to Aggregator section to add aggregators for the selected fields. Database aggregator is a utility to compute the aggregations (min/max/sum/mean) for each of the columns selected with the support of filling null valued rows. The types of aggregations can be chosen while configuring the database while the result will be shown on the top right while viewing the Database. It also has a droppable list to drag-n-drop filters and preset the order for Database filters. Next is the Settings section where we can choose filters position and initial display type. Once all these are done click on Create Database button at the bottom of the modal to create a database.
1.2 Creating a Database with fields by uploading a file
In this type, all the steps remain the same as before except the way fields are added. Instead of dragging and dropping, we import them by uploading a file. This will be helpful when a database is created with many number of fields, thereby saving time. Again we have two options here, Import Inputs from File (csv/tsv/json/excel) which imports only the fields or columns and the other one is Import Data and Inputs from File(csv/tsv/json/excel) to import fields/columns along with data. We can click on these buttons which opens up file explorer and select files to import them accordingly. It supports different file types ex: EXCEL, CSV, JSON, TSV.
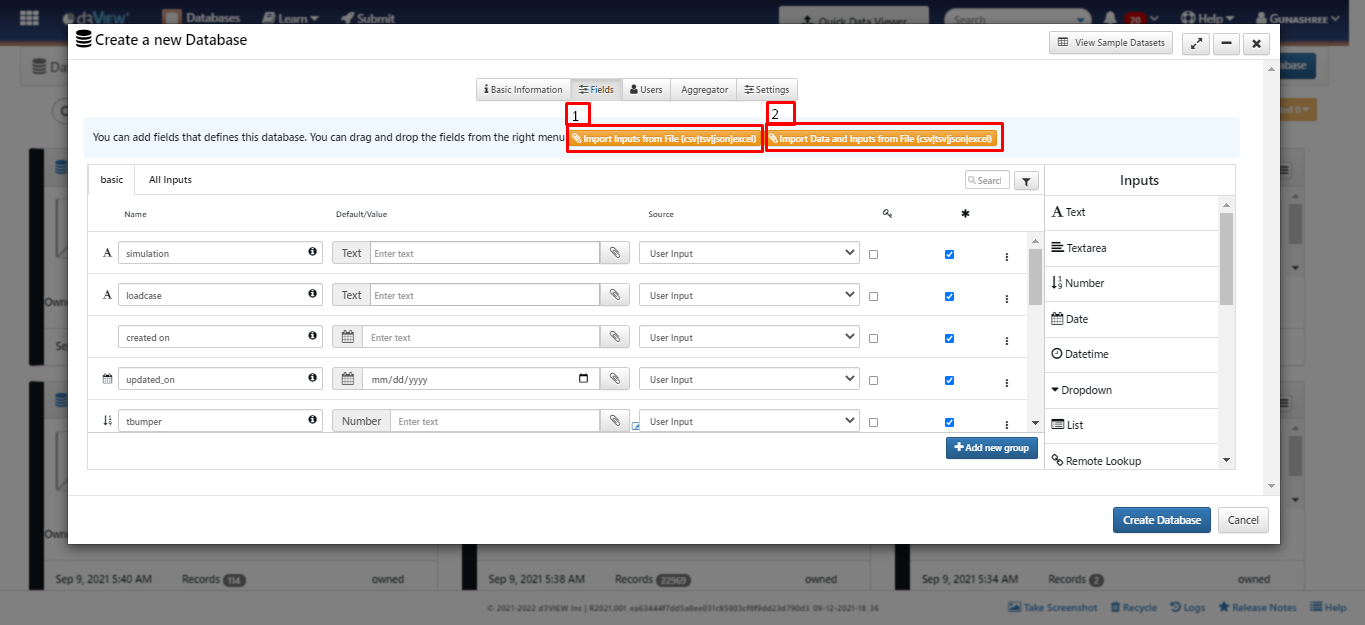
After adding fields we add other settings and then click on Create Database to create it.
1.3 Creating a Database by importing fields from sample datasets
All the steps remain the same as in the previous types with the only difference being the way in which fields are imported in the Fields section. In this type of database creation, we are importing fields from sample datasets available within View Sample Datasets.
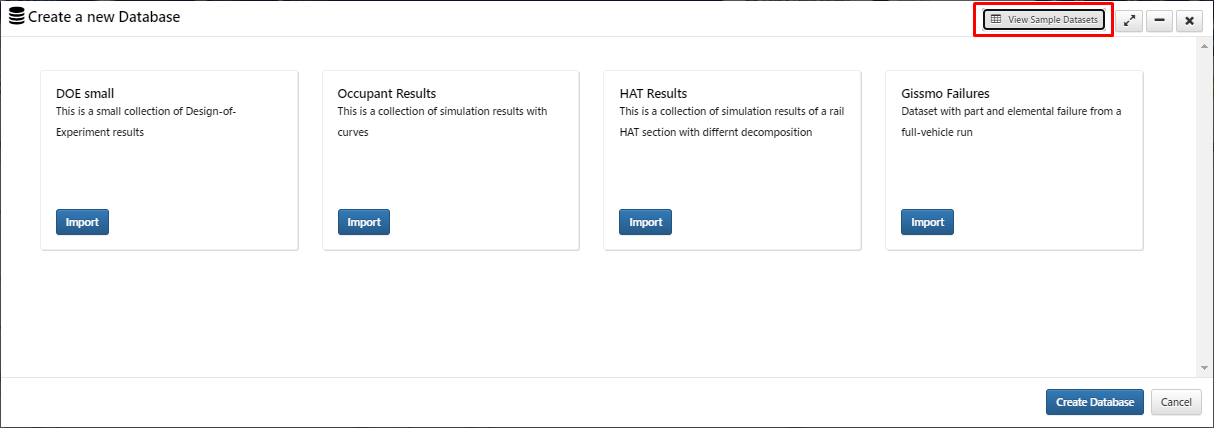
After filling all the necessary information, click on Create Database to create a database.
1.4 Creating a Database using Workflows
This is quite different from the other three types.
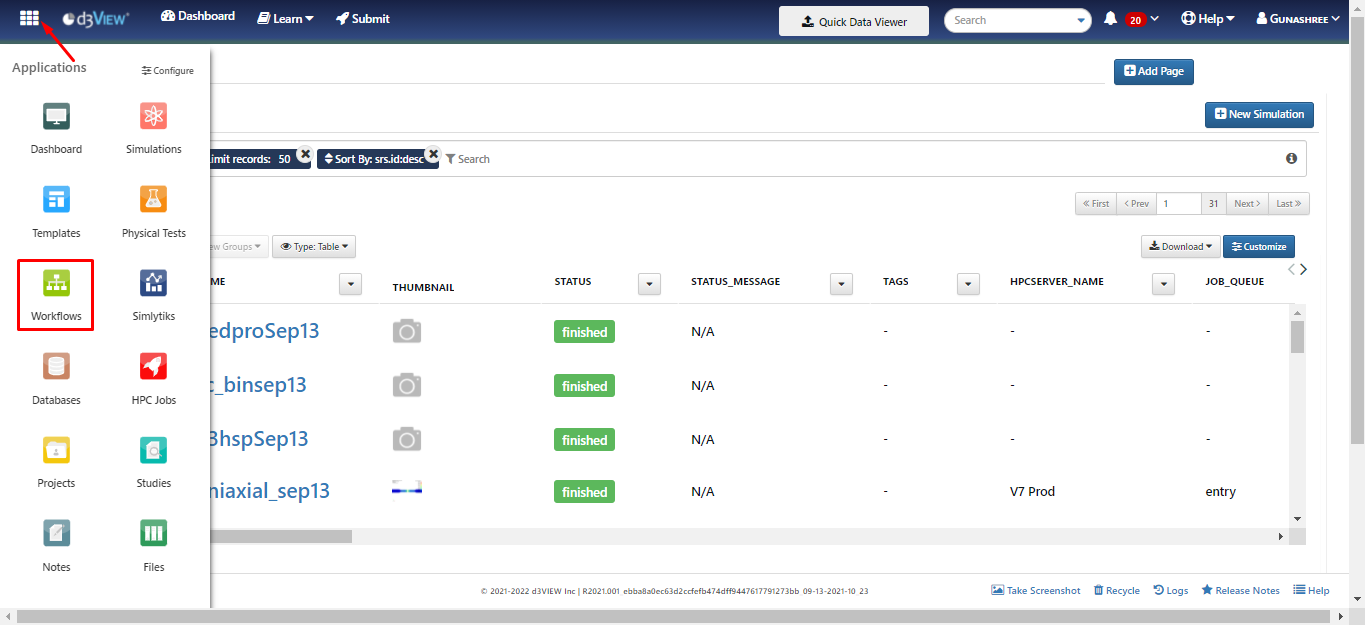
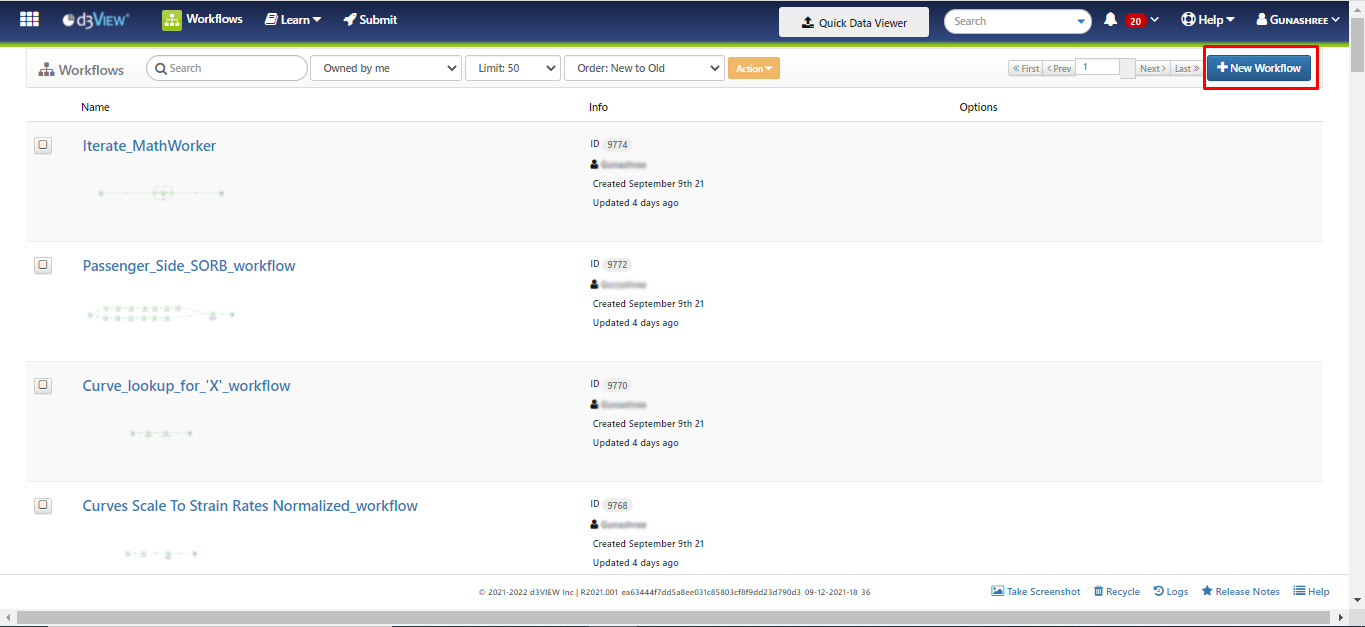
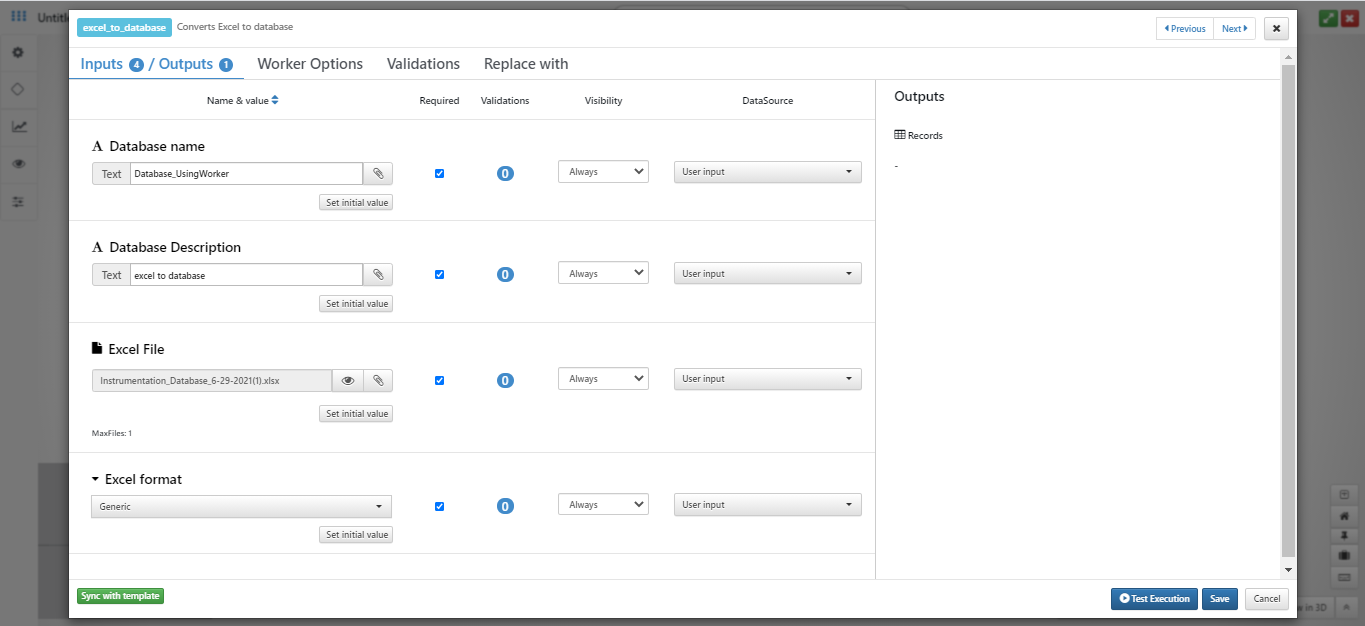
Here, a database is created by using the Workflows application. We go to the Workflows Application, click on New Workflow, add appropriate worker, ex: excel_to_database worker, fill all the necessary inputs within the worker, and click on Save to save inputs for creating a database.
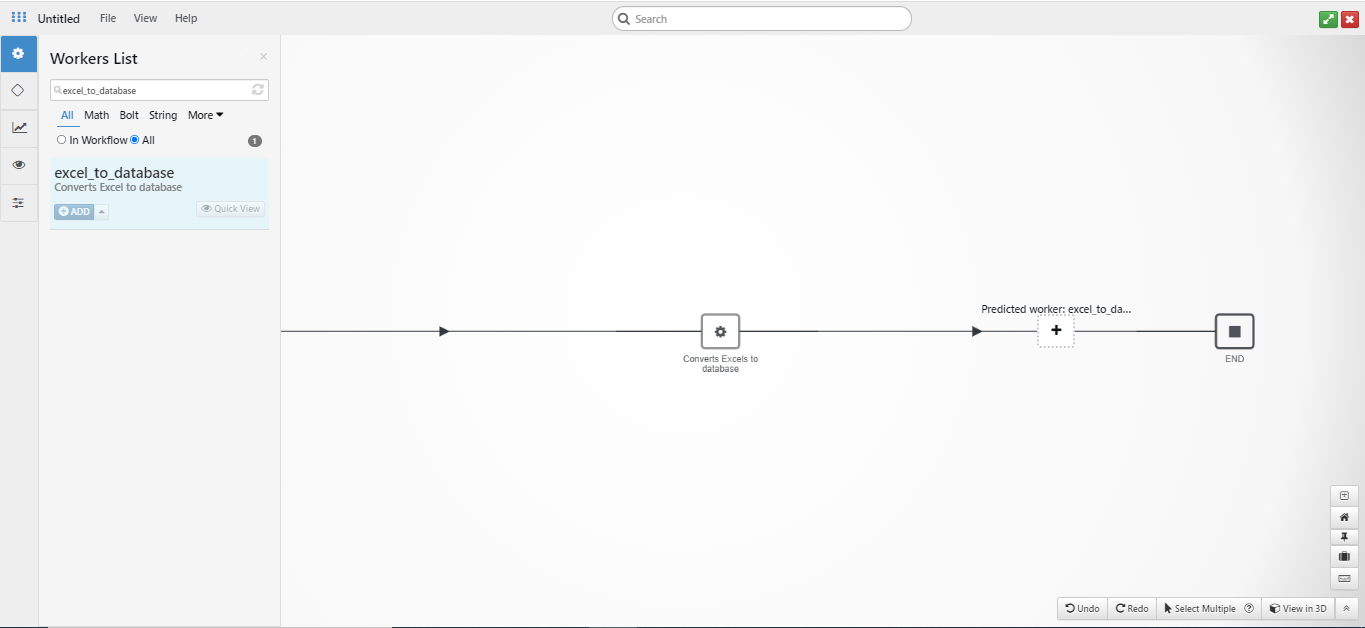
Click on Menu icon available on the left top corner and click on workers button to view workers list.
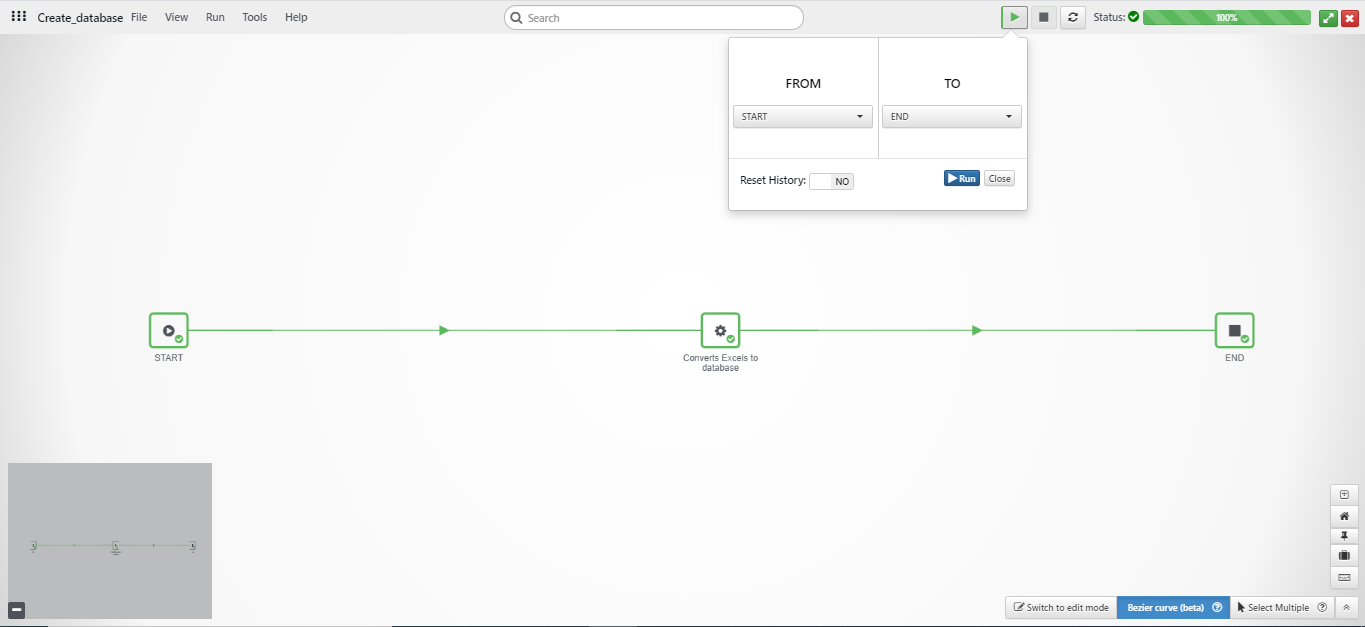
Save workflow and execute it by clicking on Run button available for the workflow in home page, and click on Play button to start execution.
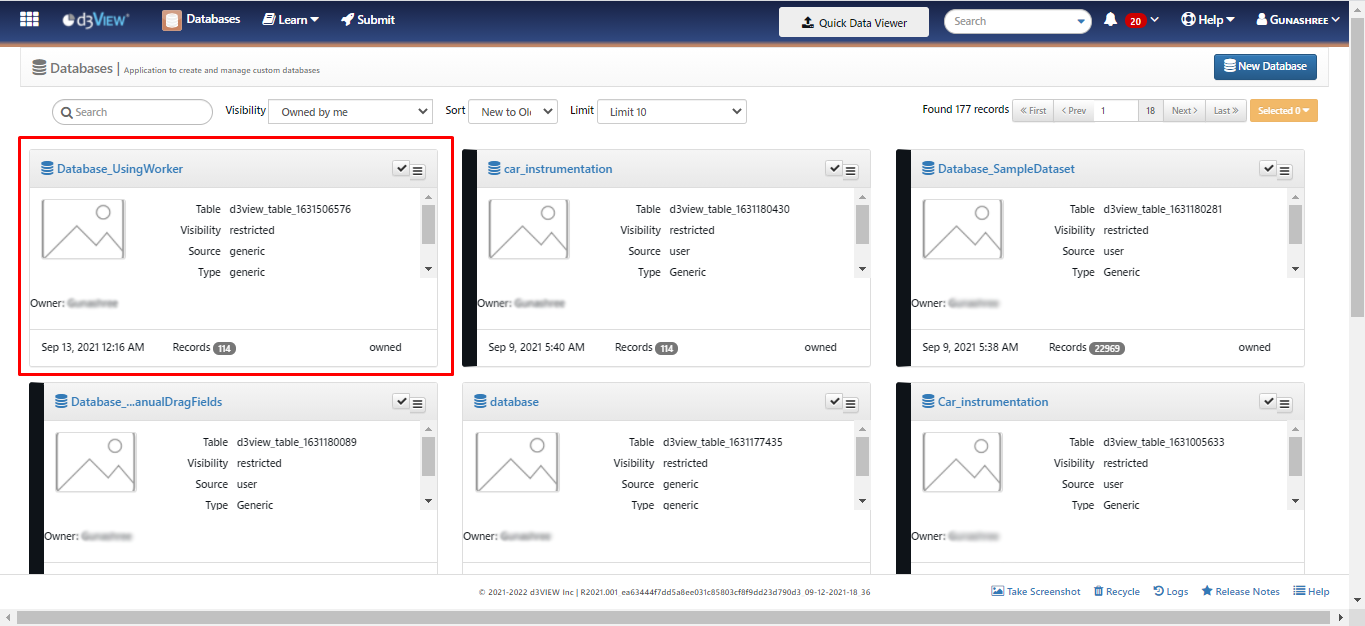
Once the Workflow is executed, we can see the corresponding database in the Database homepage.
These are the ways of creating databases.
2. Visualizing Data
In the case of databases created with imported fields, we can open the database by clicking on its name where we can view the records . Whereas for the databases with manually added fields, we have to add records so as to view them in the data table taking advantage of Add Record button available within the database.
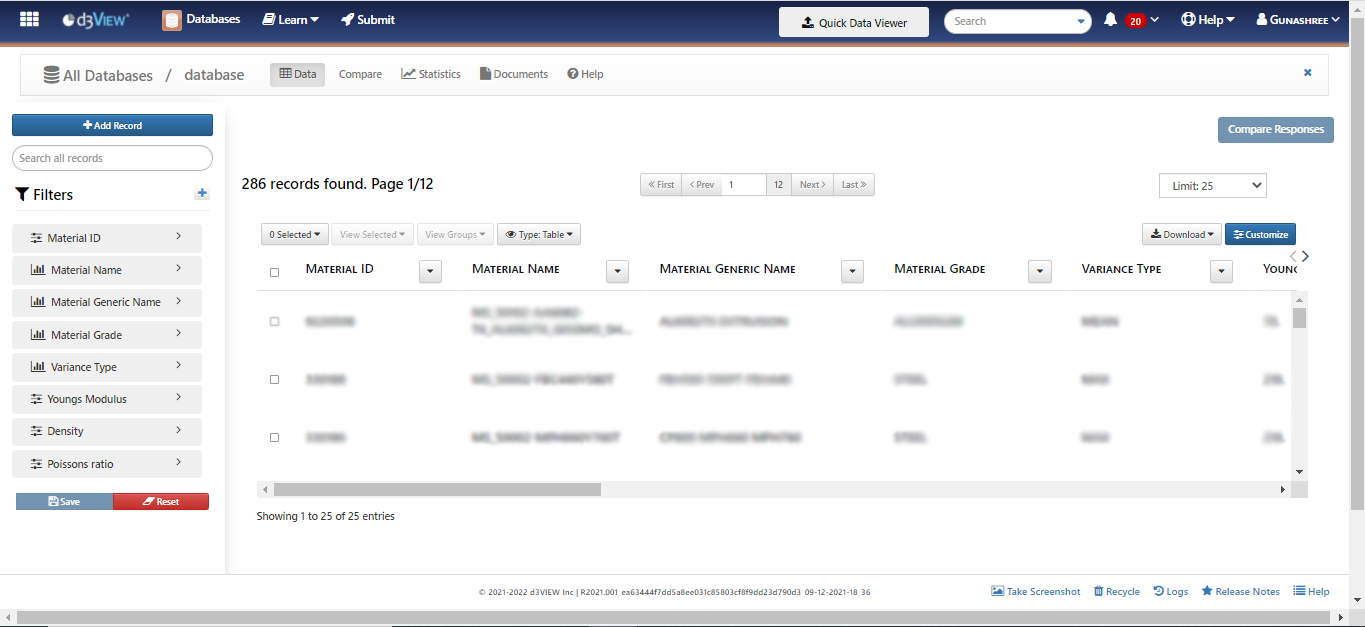
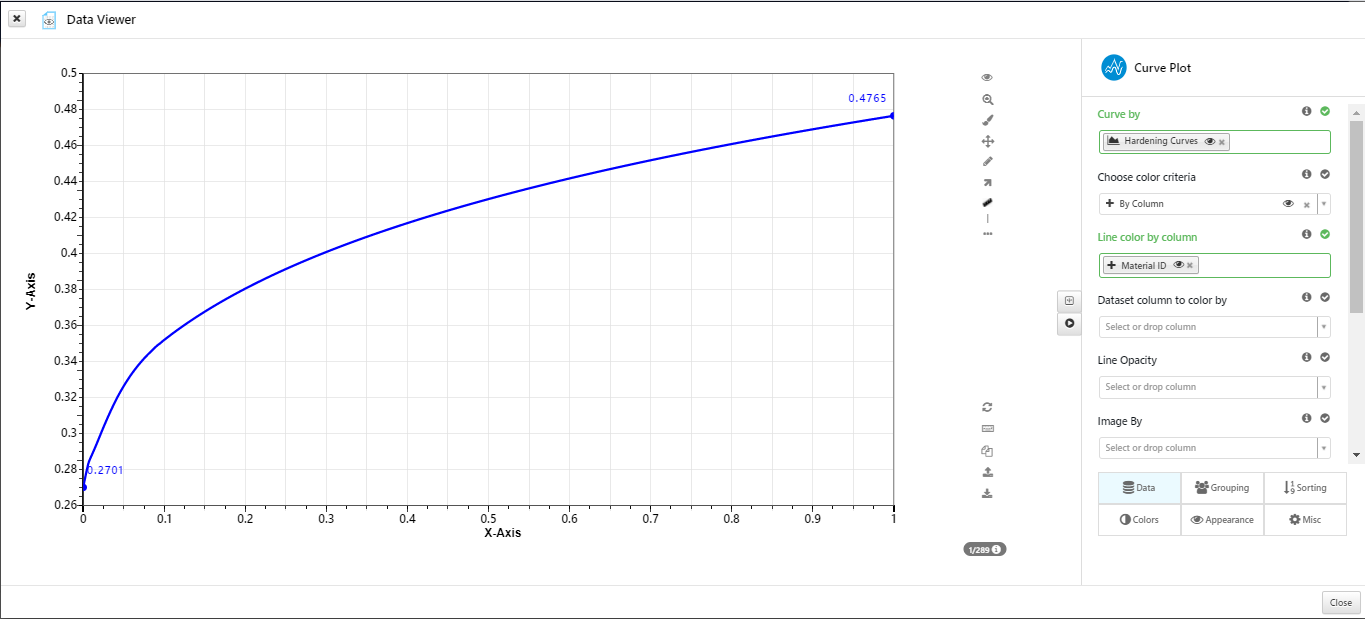
We can scroll and view complete data table which has organized large volume of data into a data table. Data table may contain images, curves, files etc. which we can view by clicking on the icons in the data table which in turn opens data viewer to view selected input.
3. Exporting Data
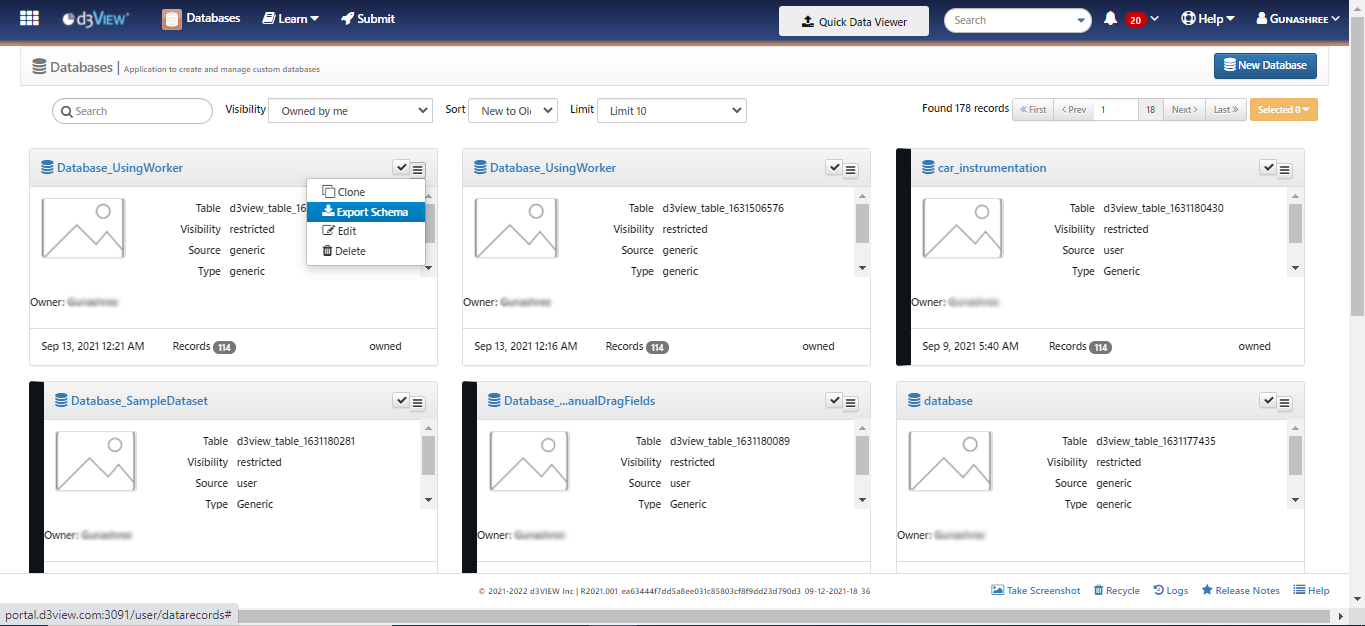
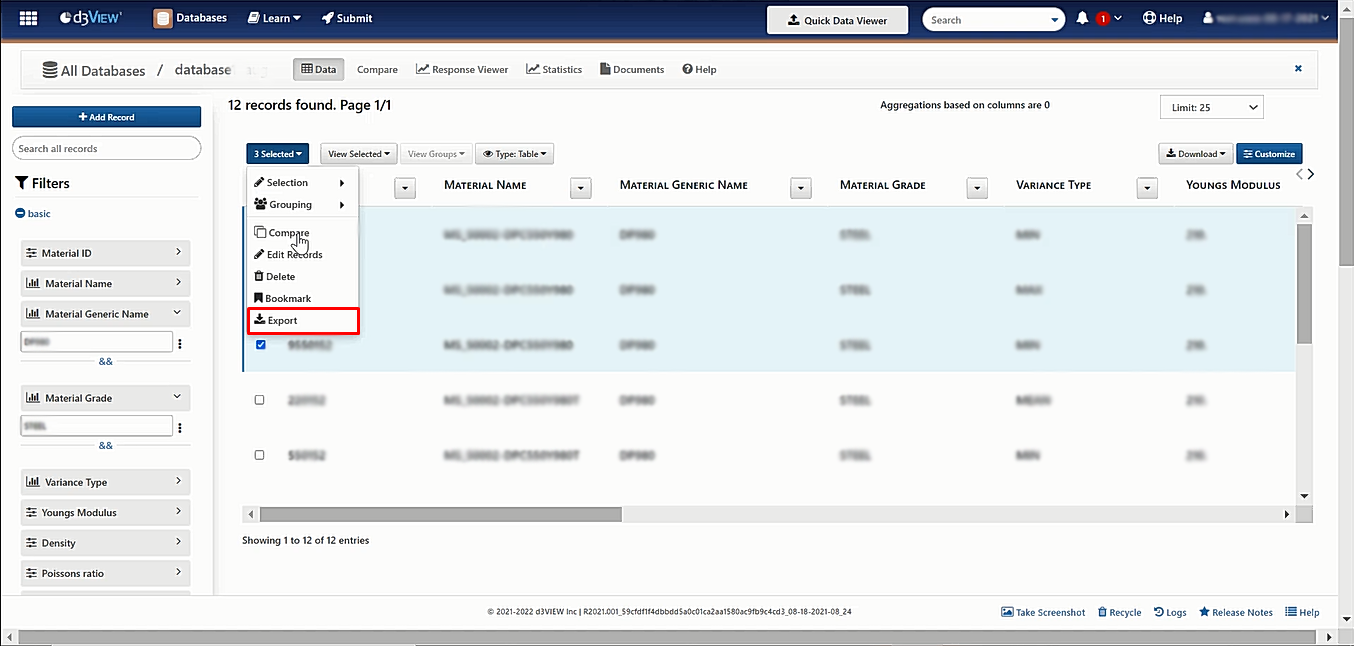
Database application also supports downloading/exporting the database which can be shared with other users. We can also import schema from the exported database while creating a new database by clicking on Import JSON Schema button in Basic Information while creating a database. We can either export the entire database or just a selected set of records within a database as a CSV file. This can then be used to import fields while creating new database.
This is the overview of the Databases application in terms of creating databases, importing fields and exporting databases and records.